

How To Paint Pumpkins With An Chinoiserie Design- Fall Decor
Chinoiserie Painted Pumpkins
Fall Pumpkin Painting
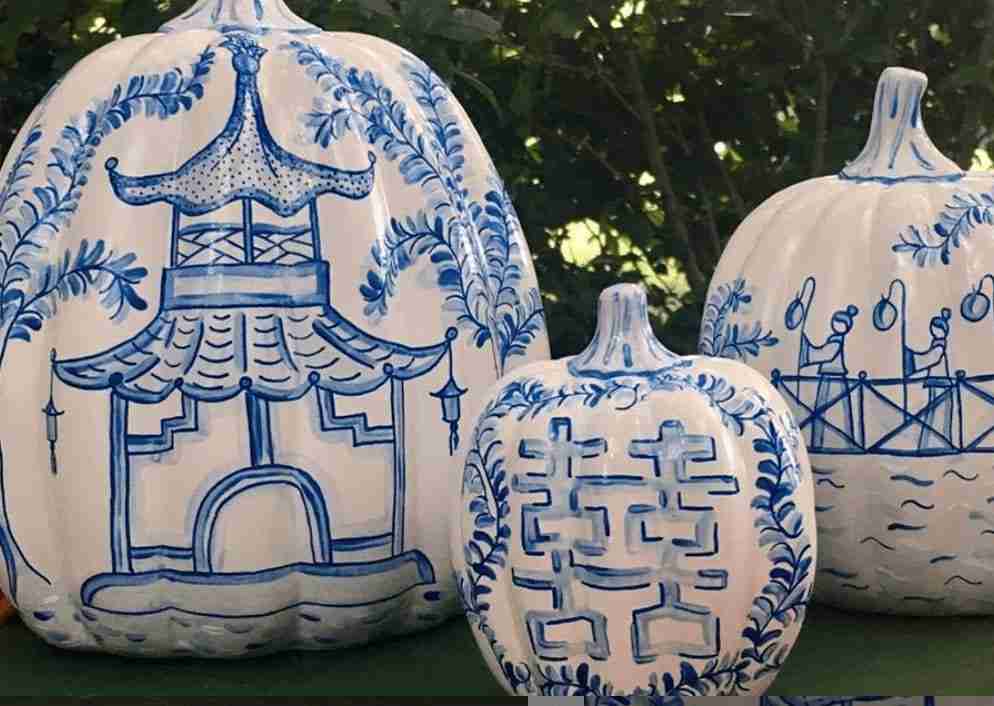
If you are seeking a fun fall project, this is it! I decided to decorate and paint a Chinoiserie design to compliment my home decor. I love blue and white it’s perfect for a white color scheme. My coastal styled house has lots of white and blue gray decor so that’s why I love the look of these cute painted pumpkins.
The term “Chinoiserie” derives from the French word chinois, meaning `“Chinese”, so it is a western aesthetic inspired by Chinese designs.
During the 17th until 18th centuries, Europeans were very interested with Asian culture so they tried to blend with their art, and also King Louis XV of French thought Chinoiserie combined well with the Rococo Style.
Let’s paint some beautiful chinoiserie pumpkins!

https://galpal.net/wp-content/uploads/2020/10/Videoleap-3A0F22C9-4561-41E6-BEE8-2620C6E85EE7.mov
Decorate and Paint Faux and Real Pumpkins This Fall
No matter your style, painting pumpkins is way more fun than I ever thought it would be. You do not need to be a professional painter for this D.Y.I. project. No real talent needed here.
You can paint either real pumpkins or faux pumpkins. It doesn’t matter the size of the pumpkins. I painted paper mache pumpkins and used a white and blue base color to achieve the chinoiserie look.
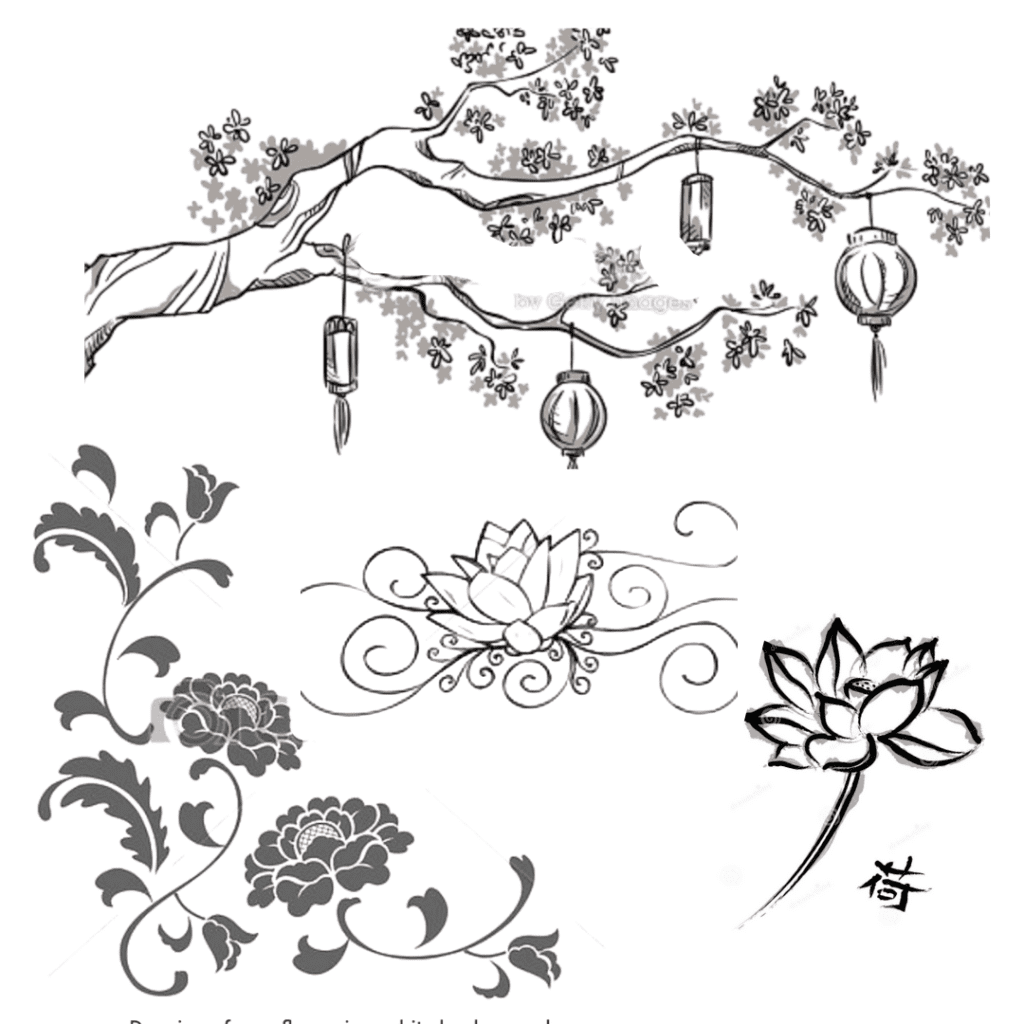
No need to paint elaborate designs either. Keep it simple and consider using chinoiserie stencils if you don’t want to paint freehand. I used my ceramic designs in my house (ginger jars) for inspiration.
This method of painting can be used for real or faux pumpkins. I will show you how I designed a floral Chinoiserie type of design, the chinoiserie pattern.
PAINT MATERIALS NEEDED:
- Faux or real pumpkins. (Walmart currently has inexpensive faux pumpkins)
- Acrylic paint or chalk paint in desired colors–both will work. I suggest a white base color so you will need a good white chalk paint.
- Do not use oil-based paint it can dissolve foam and suffocate a real pumpkin.
- Paintbrushes
- Paper towel
- Black permanent marker
- Blue paint pen
Here is what you need:

How To Paint A Pumpkin In A Chinoiserie Design
https://galpal.net/wp-content/uploads/2020/10/Videoleap-3A0F22C9-4561-41E6-BEE8-2620C6E85EE7.mov
1. Clean and Seal Your Pumpkin
Sealing your pumpkin before you paint it is optional, but it helps to give you an excellent surface to paint on. Choose an aerosol or brush sealant and cover your pumpkin.
2. Choose the Paint
Choosing the right paint for your pumpkin depends on painting with children or creating your masterpiece. Use washable paint with kids for obvious reasons.
I used chalk spray paint, which offers a muted surface compared to a shiny finish.
3. Use the Proper Brushes
You will need three fine tipped acrylic paint brushes.
4. Spray Paint The Pumpkins
I used chalk spray paint. It has a nice matte finish for the surface of the pumpkin.
4. Plan Your Design
I painted my pumpkins to go with the décor of my house, blue and white. After deciding what color scheme or design you want to go with, decide if you are going with a freehand design or use a predesigned stencil. Look at the designs above as you draw your design, it helps to have a design to look at as you design your pumpkin.
5. Start To Paint
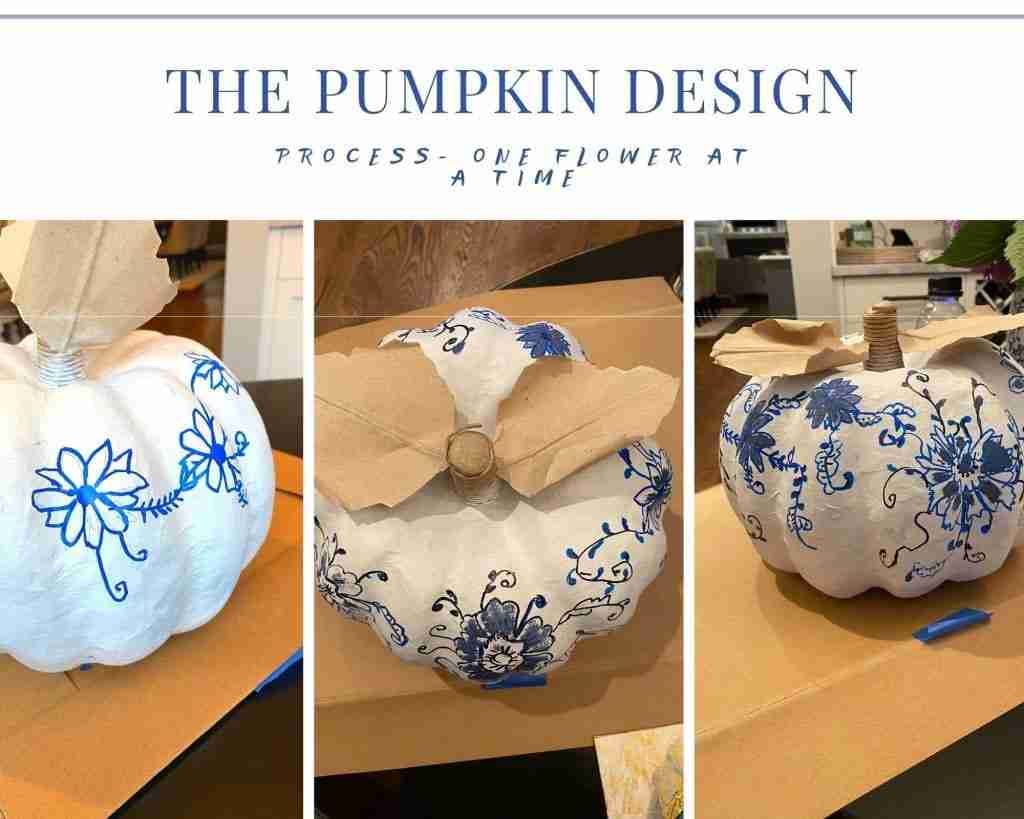
Trace your design on the pumpkin with a pencil or pen. Start at the top of the pumpkin and work your way around the pumpkin making your way to the bottom of the pumpkin.
Using your thinnest paintbrush and your darkest blue paint, begin to trace over the lines you just sketched (this includes the outline of the petals of your flowers). Some strokes will be thicker than others, but don’t sweat it. Don’t worry about making it perfect, the paint will start to blend nicely. If you make a boo boo, use a damp paper towel to wipe it of and then start over.
Fill in the petals of all of your flowers- don’t go too opaque with your painting, it’s ok if it’s not a 100% solid finish. I used the paint pen and the permanent market to accent the flower pedals.
Add some dots, swirls, and curves to the petals using the light blue paint color. Using your black or another color of your choice paint, fill in the centers of the flowers, add further details to the petals and add a few random dots around the flowers for contrast.
Don’t forget to paint the pumpkin stem and leaves.
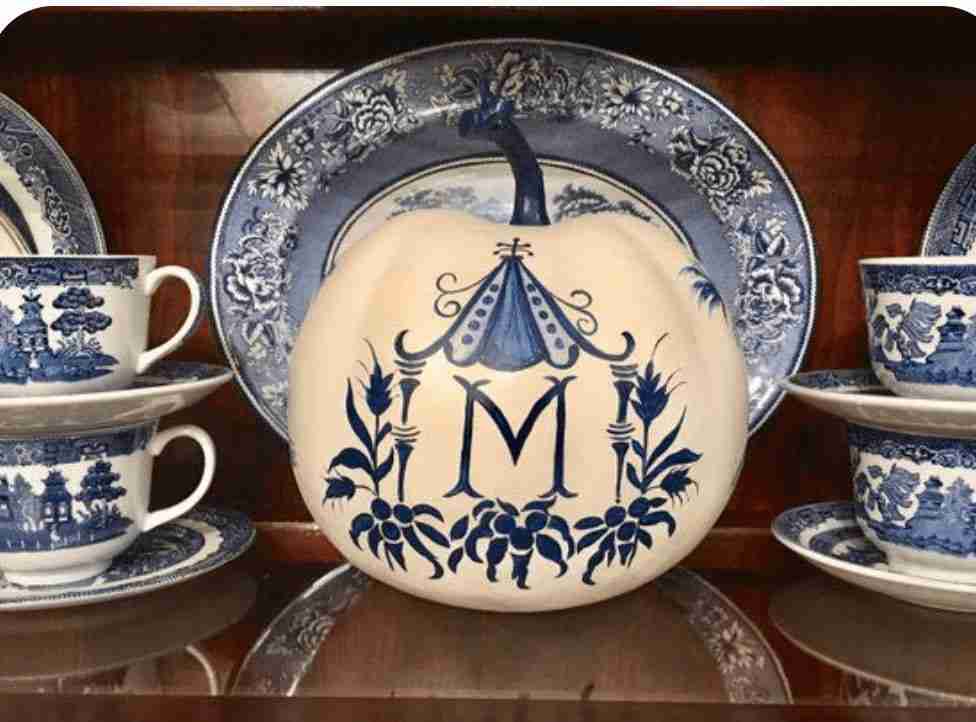
More Inspirational For you~ I’m painting the monogram one next!
I encourage you to get your paint brushes out. I am no artist, trust me but it’s really fun and relaxing to paint. I bet you will be better artist than you ever expected. Check out my post on how to embellish a canvas print, another fun project that doesn’t require much skill. Trust me!
These painted pumpkins (diy chinoiserie pumpkins) is the new pumpkin-decorating trend-diy chinoiserie pumpkins.
If you are a creative type and enjoy home design, decor and, gardening you will appreciate the following blog posts:
How and why to plant vanilla strawberry hydrangeas-
Best evergreen shrubs that are highly recommended by gardening experts.
Best wall paint colors for kitchens with white painted cabinetes.

-

Stars Stripes Trivia Game : American History Facts We Should All Know
-
Lady Liberty Flag Cake With Berries
-

Reinventing Yourself as an Empty Nester: Empowering Tips
-

Why Midlife Is Your Power Decade – Backed By Science

These are so incredibly beautiful!! WOW -love the blue !