How To Make An Evergreen Wreath in 3 Easy Steps
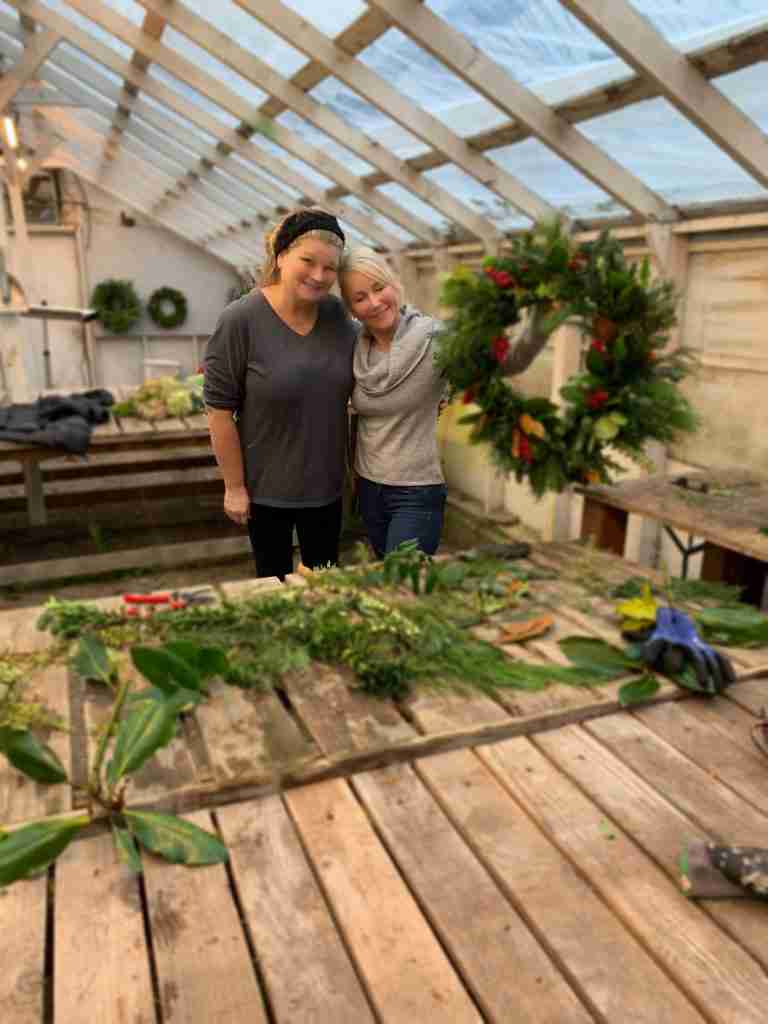
The holiday season is here, so one of the first things I like to do is dress my front door with a wreath made with fresh greens from my garden. Yesterday, I made my fresh evergreen wreath for the season. It’s always so much fun to do with your girlfriends. More holiday traditions here.
Who doesn’t appreciate the aroma of an evergreen wreath or swag during the holidays? I used to buy evergreen wreaths, but I have been hand-making wreaths with my friend Lena for the last couple of years, and it’s become a fun holiday tradition to do with girlfriends. It’s also so rewarding to create a piece of art by layering greens on a wire frame.
Working with the natural elements of evergreen cuttings gets you in the holiday spirit by providing the best in Christmas decor. The process is much easier than I ever expected, so I wanted to share the tutorial with you.
Here is what you will need to create a beautiful homemade natural wreath with evergreen clippings from your garden.

Three Easy Steps To Make A Fresh Evergreen Wreath
What you need to make a wreath:
Materials You Need To Make A Wreath At Home
a. Buy a 12-14 inch Metal Wreath Form
You can make a metal wreath form from a wire coat hanger, but honestly, It’s worth spending a few bucks to buy a pre-formed one at a craft store (Michaels, Hobby Lobby, a dollar store, and Joann’s all carry them). They are perfectly formed and sized for fresh greenery wreaths, and you can use them year after year. A 12″ wreath form might look small, but once the greenery is on it, the wreath will be plenty big for a standard width door. If you have an oversized door as I do, go for the 14-inch frame.
b. Florist wire
Green coated wire is ideal (because you won’t see if mixed with the greens)
c. Wire Cutter
Simple wire cutters- you will need these to cut the wire you will use to wrap around the greenery.
d. Gloves- Tight gloves for nimble fingers
e. Fresh Cut Greenery Cut into 6-12″ sections
Take a walk through your neighborhood and garden and look for pieces of greenery that offer texture and color. My favorite evergreens from the Pacific Northwest are Pine, spruce, holly, cedar, magnolia, salal and magnolia branches.
Don’t forget to look for pieris, boxwood, laurel, camellia, fir and cypress. Blue noble branches are gorgeous. I like to contrast needles with broad leaves and vary the color, but a wreath made of entirely one type of foliage has a fabulous look as well. Incense Cedar is another good one – Covered in clusters of bright, golden buds, incense cedar is prized for its wonderful aroma and textural quality. Also, consider tucking herbs like rosemary, sage, and lavender into the foliage to add another wonderful aroma.
If you need more greens, head to the grocery store or nursery or Christmas tree lot for clippings that you can add to your wreath for a unique look

f. Other embellishments
Pine cones, ribbon, faux berries, or any other beautiful item that will embellish your wreath—A simple, fresh greenery wreath is gorgeous on its own, but if you want to dress up your wreath. Faux fruit is always a nice embellishment as well.


Wreath Making Hack: If you live by a local nursery or garden center, check out if they have free forms with cramps. The nursery where I am from has a lovely space with lots of room to layout your greens and thick wire forms where you can use a foot pedal to clamp down the greens without using wire. Super cool.
The floral wire does the trick if you don’t use one of those handy dandy professional clamps!
Three Easy Steps To Make A Fresh Evergreen Wreath
Follow the easy step instructions below
Key Takeaways
- The holiday season inspires creating a fresh evergreen wreath using garden clippings and materials like a metal wreath form and florist wire.
- Gather supplies and organize the greens before starting the wreath-making process.
- Layer bundles of greens in a clockwise or counterclockwise direction for an even appearance.
- Decorate the wreath with additional items like pine cones and faux berries for style.
- Fresh greenery lasts well outdoors; spritz it with water to keep it fresh and enjoy crafting with friends.
First step is the gather the supplies listed above and then start here:
- Organize The Supplies
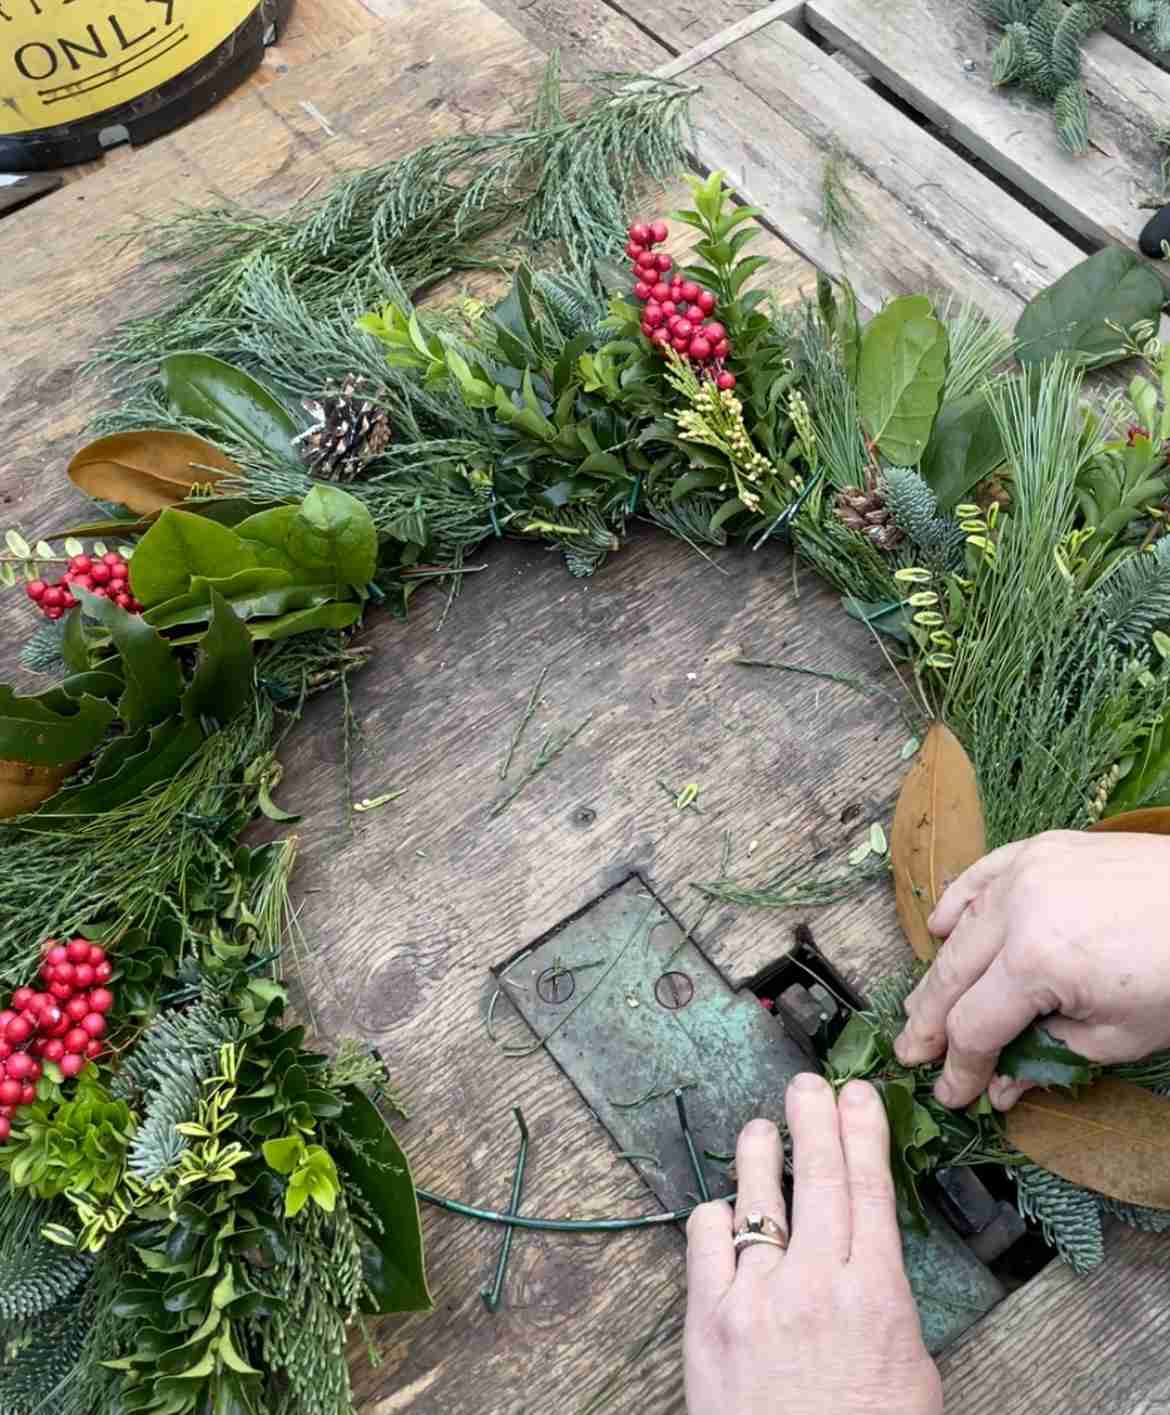
Layout all your supplies in your work area. I like to organize my greens so I have a good idea about how to bundle the greens around the circle to make it even. Take inventory of your evergreens so you can even lay the small bundles around the wire before running out of the supplies. For instance, I only had so many red berries and pine cones, so I added them into every third bundle as I made my way around the circle of the wreath base.
Start the wreath by taking a few different evergreen bundles and bunching them together at the branch’s base. Gather them by holding the bottom of the stems. When you like how the little layered pile looks, it’s time to wrap the wire around the bundle.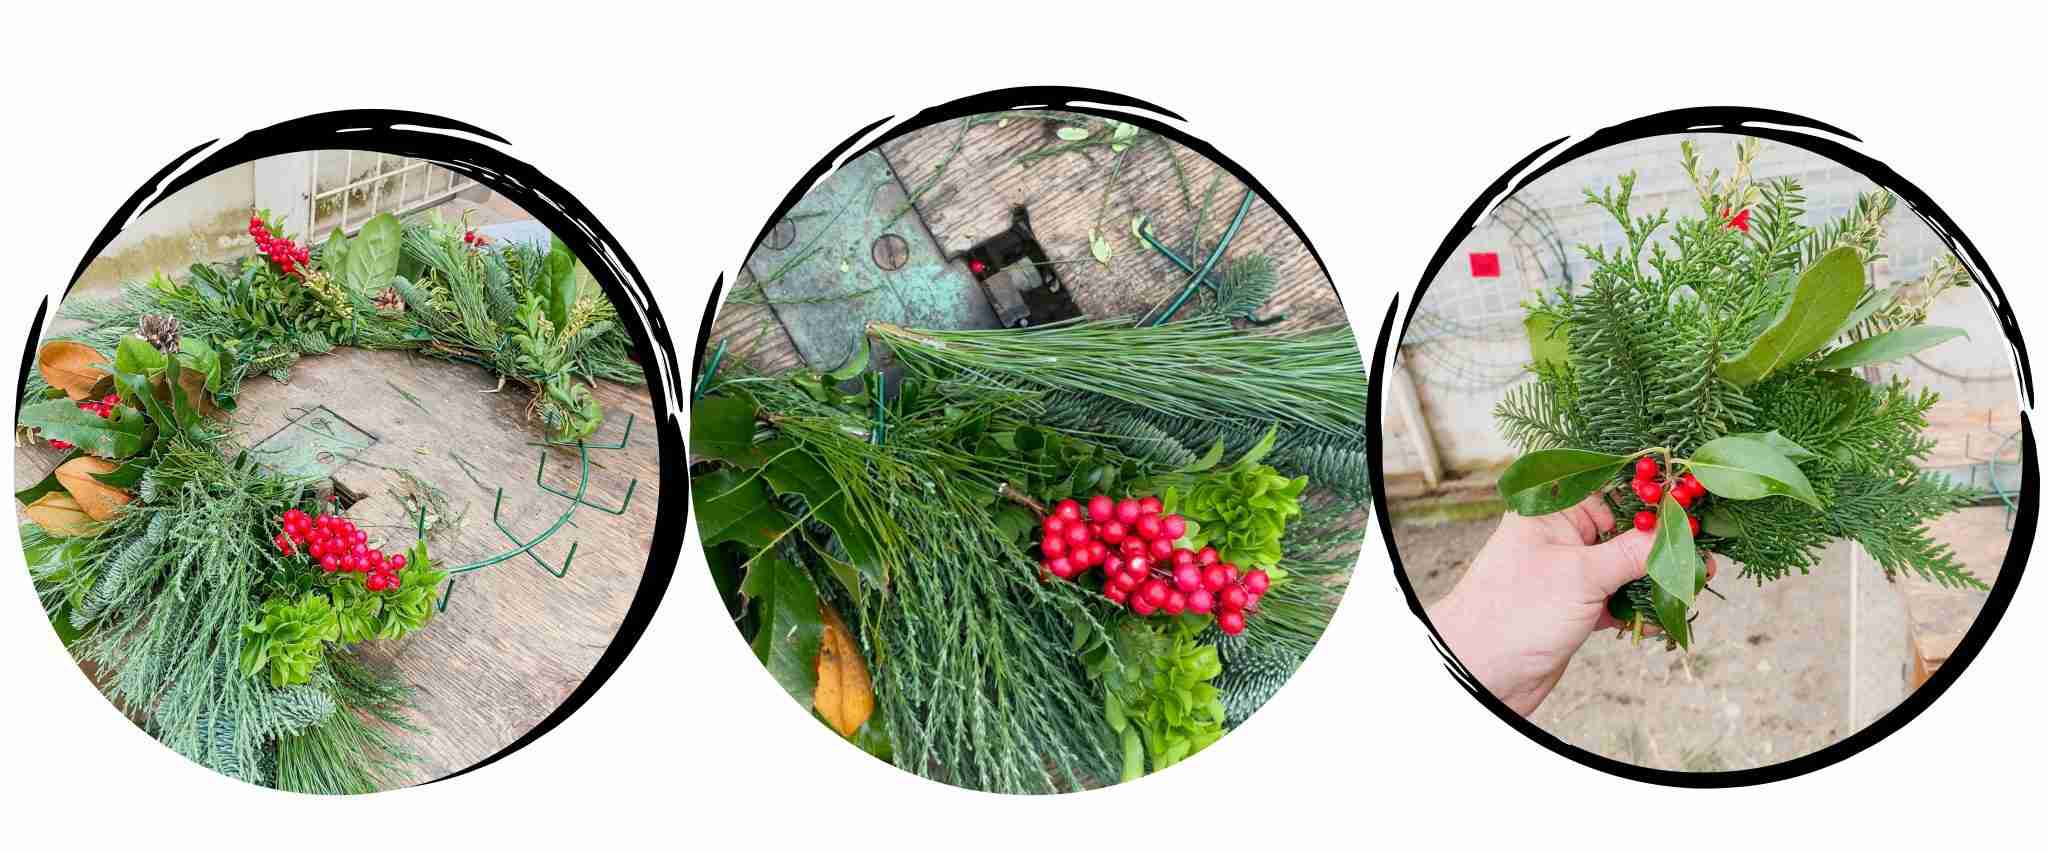
- Layer More Bundles
Make sure you lay each bundle either clockwise or counterclockwise. This is important!
Make a second bundle, and layer it over the last bundle, so the fluffy “tail” end of the bundle covers the wire of the first bundle. You’ll probably want to move up the wreath form two inches or so.
- Decorate
Grab whatever decorations you’d like to add, and attach them using small pieces of floral wire. Like, for example, with my pinecones, I just ran a wire through the pine cone. I also like to use faux berries because real berries don’t usually stay fresh for long.
Fresh greenery wreaths kept outdoors do a marvelous job of “keeping” well in cooler temperatures. My only recommendation for care would be to spritz it with water every few days to keep the needles from drying out.
- Fill In The Wreath With Greens
Once you’ve add bundles around the circle, and your end up at place where you started, lift up the wreath so you can determine if you have any bare spots that need extra greenery.
It’s time to add a bow and hang your wreath! Enjoy this process and do it with your Gal Pals for extra fun.