How To Digitize Your Old Photos- Expert DIY Guide
Digitizing old family photos is a fantastic way to preserve precious memories and ensure they’re accessible for future generations. With the right tools and techniques, you can create high-quality digital versions of your favorite photos. In this post, I share expert tips how to digitize your old photos with a simple DIY guide.
Whether you’re using a flatbed scanner, a digital camera, or smartphone apps, this guide will walk you through the best ways to achieve the highest quality digital copies of your old photographs.
Archiving Photo Tips From The Experts
So you have a lot of family photos saved in photo albums and boxes that you would like to save but it is overwhelming right? I know I am in the same boat. We have asked the experts from DoorStep Digital to give you a simple DIY guide to digitize and archive photos.
Here is the deal, you can either hire an expert like Doorstep Digital (photo-digitizing services) to scan, organize and file your photos or you can do it yourself. It takes time but it’s possible!
I asked the experts at Doorstep Digital to outline the easiest way to digitize physical copies of photos from those old-fashioned film cameras (wink wink) and newspaper articles and even school photos.
The following DIY guide on digitizing family photos is simple and straightforward. If you have any questions, do not hesitate to reach out to Doorstep Digital directly. They are eager to help families archive these memories.
The company was started because the owner of the company Jack Perry’s house burned down. So trust me, they know and understand the importance of digital scans of your large photo collection.
DIY Guide To Digitizing Your Family Photos
The following is a step by step DIY guide for digitizing old photos from experts DoorStep Digital.
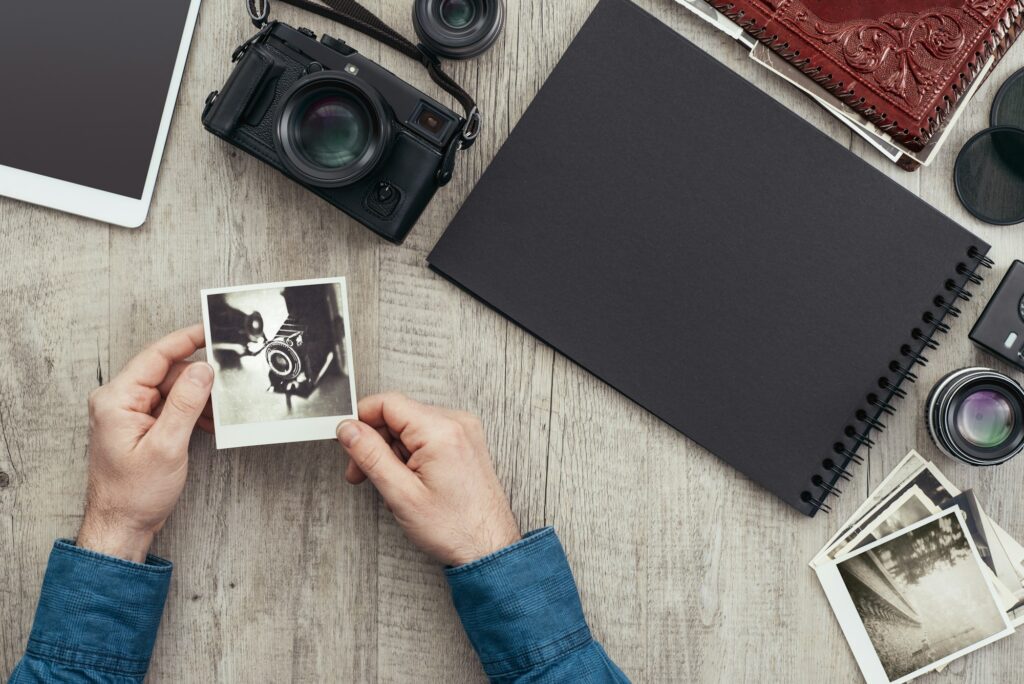
Step 1: Gather Your Materials
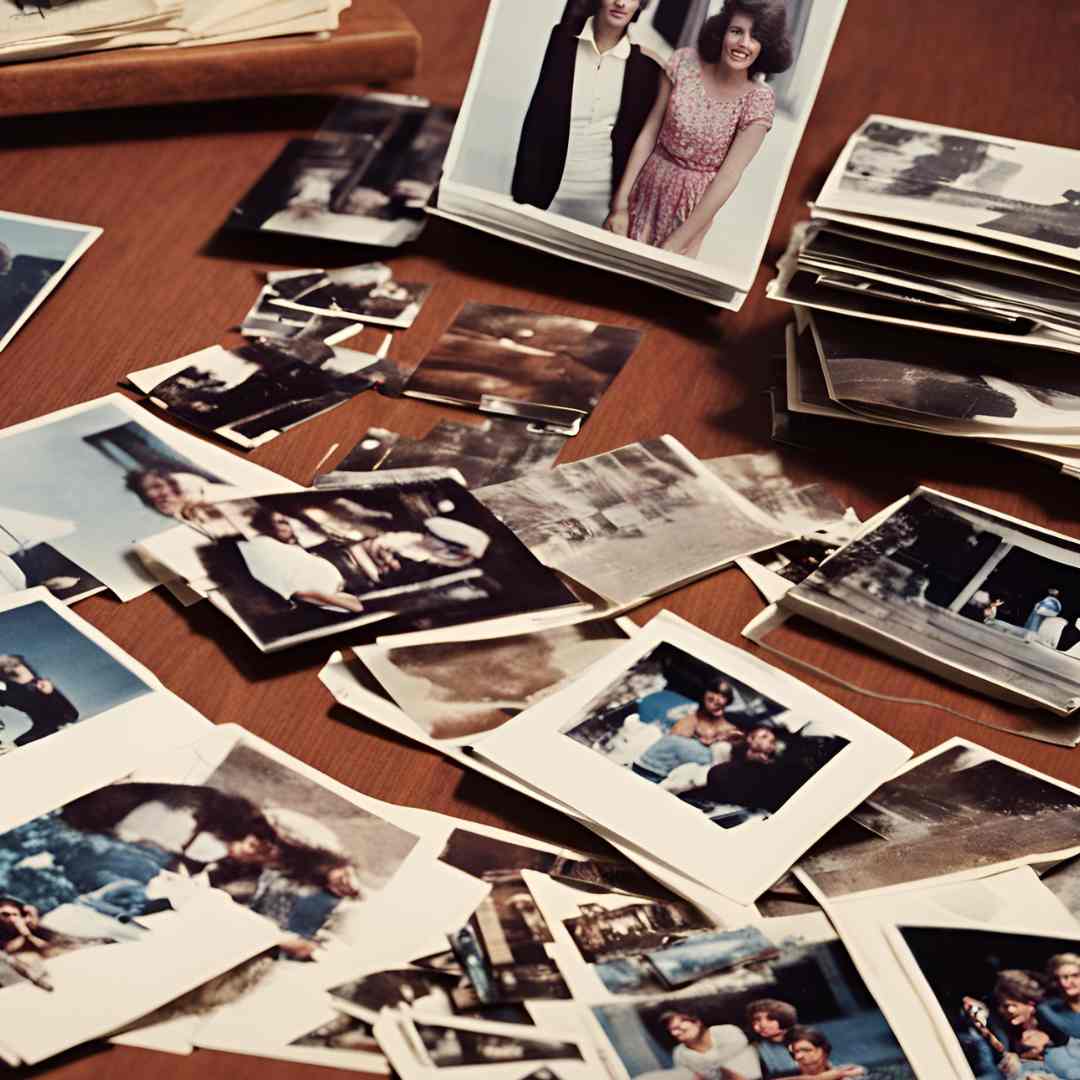
Before you start, collect all the old family photos you want to digitize. This includes print photos, old photo albums, physical prints, and any other physical photos . Make sure they are in the best condition possible, removing any dust or dirt carefully.
Tools and Materials You’ll Need:
The following are the tools and materials you need to scan photos so you can digitize them.
Flatbed Scanner or Photo Scanner: For the best scan quality, a dedicated photo scanner like the Epson FastFoto FF-680W is a great choice.
Digital Camera or Smartphone: For a quicker, more flexible option.
Light Source: Natural light or a soft, even artificial light.
Computer or Smartphone: To store and manage your digital images.
Storage Devices: External hard drives, flash drives, or SD cards.
Cloud Storage Services: Google Drive, Microsoft OneDrive, or similar for backups.
Photo Apps: Google PhotoScan, Microsoft Lens, or other smartphone apps available on the App Store or Google Play.
Step 2: Choosing Your Digitization Methods
The first step in the DIY digitization process includes the use of a scanner.
A. Using a Flatbed Scanner
1. Preparation: Place your photo on the scanner bed, ensuring it’s free from dust and aligned properly.
2. Settings: For best results, set your scanner to the highest resolution possible (300-600 DPI is recommended for high-quality scans).
3. Scanning: Scan the photo, and save the digital copy in a high-resolution format (TIFF or PNG for best quality, JPEG for smaller file sizes).
4. Clean your screen often!
4. Review: Check the digital image for clarity and color accuracy.
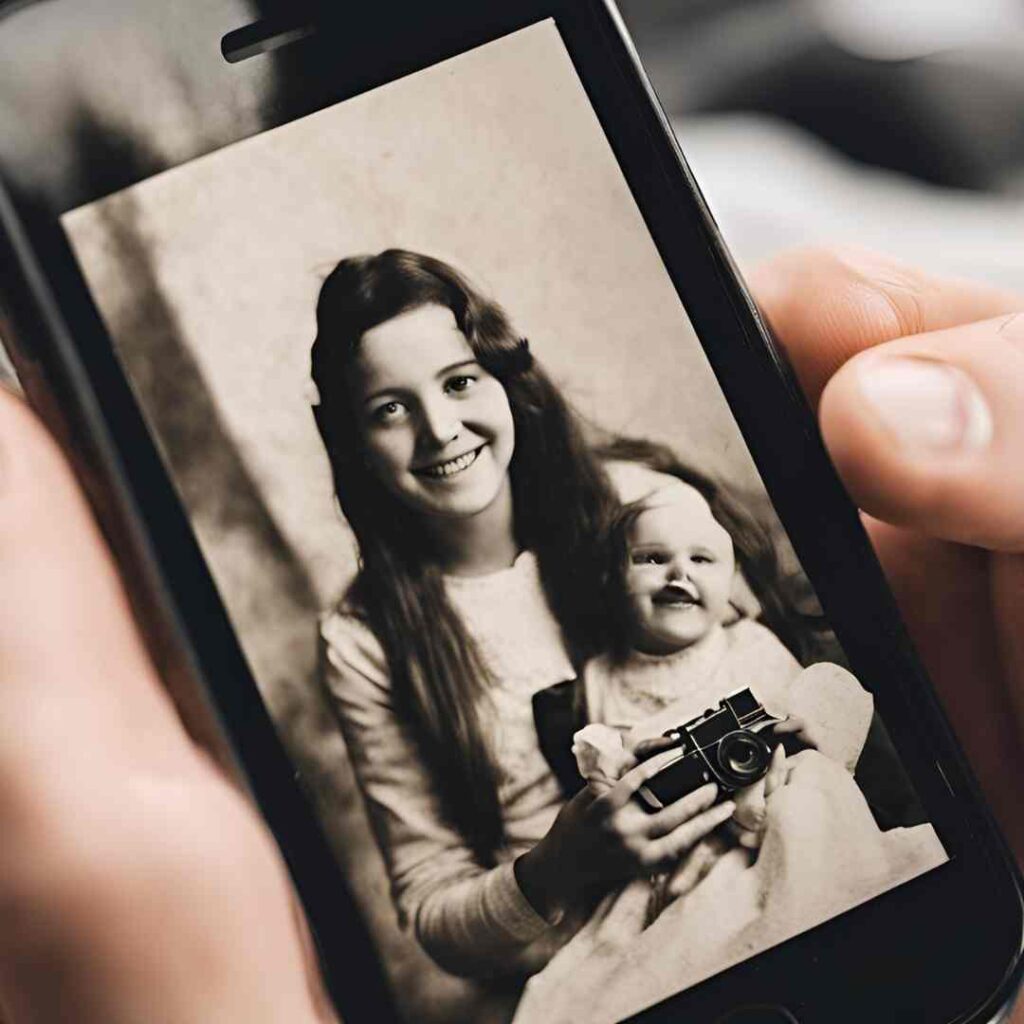
B. Using a Digital Camera or Smartphone
1. Setup: Find a well-lit area with natural light or use a soft light source. Avoid direct sunlight to prevent glare.
2. Positioning: Place the photo on a flat surface and position your camera directly above it. Ensure the camera is stable to avoid blurry images.
3. Capture: Take the photo, making sure it’s in focus and well-lit. Use apps like Google PhotoScan or Microsoft Lens for enhanced capture quality.
4. Choose the Right App: There are several apps designed to help digitize photos, such as Google PhotoScan, Adobe Scan, and Photomyne. These apps offer features like glare removal, edge detection, and automatic cropping to enhance the quality of your digitized images.
5. Set Up Your Scanning Environment:
- Lighting: Ensure you have ample lighting. Natural light is ideal, but if that’s not possible, use a bright, diffused artificial light source to avoid shadows and glare.
- Background: Use a plain, contrasting background to help the app detect the edges of your photos more easily.
- Surface: Place your photos on a flat, stable surface to avoid any distortion.
6. Preparation and Positioning:
- Clean the Photos: Wipe your photos gently with a soft cloth to remove dust and fingerprints.
- Align Your Phone: Hold your smartphone directly above the photo. You can shoot handheld, but for better stability and consistency, consider using a tripod or a mount.
7. Using A Mobile App:
Some common apps include photo scan, Microsoft Lens or Picture Scan App by Photomyne ($5 per month)
- Open the App: Launch your chosen app and follow the on-screen instructions.
- Capture the Photo: Position your phone over the photo, ensuring it’s within the frame. The app will guide you through capturing multiple angles if needed, to reduce glare and improve quality.
- Edit and Save: Most apps offer basic editing tools. Crop, rotate, and adjust the colors if necessary, then save the digitized photo to your phone.
Scanning Tips from your phone:
Remove Photos from Albums and Frames: Although it may seem convenient to scan photos directly from frames or albums, the plastic and glass layers can create reflections that affect the quality of the scan.
Clean Your Photos: Use a soft brush or compressed air to gently remove dust. For marks or stains, try a lint-free cloth, but avoid using cleaning supplies and proceed slowly and carefully. Any fluid, even water, can cause damage. Sometimes, it’s easier to clean up the image using editing tools after scanning.
Use a Plain Background: A plain, solid-colored background helps scanning apps detect the edges of your photos. A white background works particularly well. Avoid using patterned or textured surfaces.
Utilize Natural Lighting: Bright, soft natural light is ideal for scanning photos. Find a well-lit location and do a few test runs. Avoid strong light sources and artificial lighting, as they can cause glare.
Position Carefully: Position yourself directly above the photos and as close as possible. Ensure your shots are taken straight on, without any angles, and that the photos are in focus before scanning. Stay still to prevent blurring.
Tips for Better Quality:
- Resolution: Keep in mind that smartphone cameras, while capable, have limited resolution compared to professional cameras. Ensure your phone’s camera settings are at their highest resolution.
- Stability: Even though it’s easier to shoot handheld with a smartphone, using a tripod can significantly enhance the sharpness and quality of your scans.
- Multiple Shots: Take multiple shots of each photo to ensure you have the best possible version.