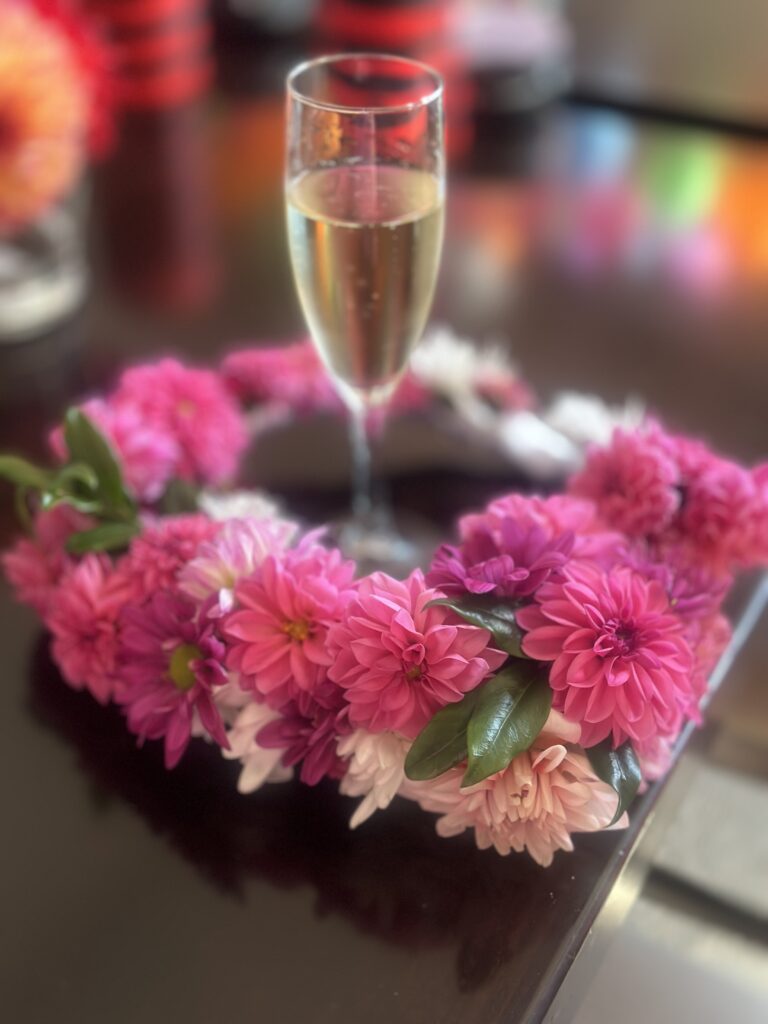
How To Decoupage a Wine or Champagne bottle: DIY gift idea
Searching for the perfect gift idea for a party? Decoupage is a delightful way to transform an old glass bottle, wine or champagne bottle, or any empty glass container into a gorgeous keepsake or meaningful present. All you need is a wine bottle (or other) and just a few simple supplies—like decoupage paper, paper napkins, or even tissue paper. In this post, I share a step by step guide on how to decoupage a bottle. Have fun with this decoupage bottle tutorial. Soon as you do one, you will want to create more.
What is decoupage?
Decoupage (pronounced “day-coo-pahj” or “de-coo-pahj”) is a decorative art technique in which cut-out paper designs are glued onto surfaces like wood, glass, metal, or fabric and then sealed with layers of varnish or lacquer to create a smooth, integrated finish. The word “decoupage” comes from the French term découper, which means “to cut out.”

Decoupage Bottles Tutorial
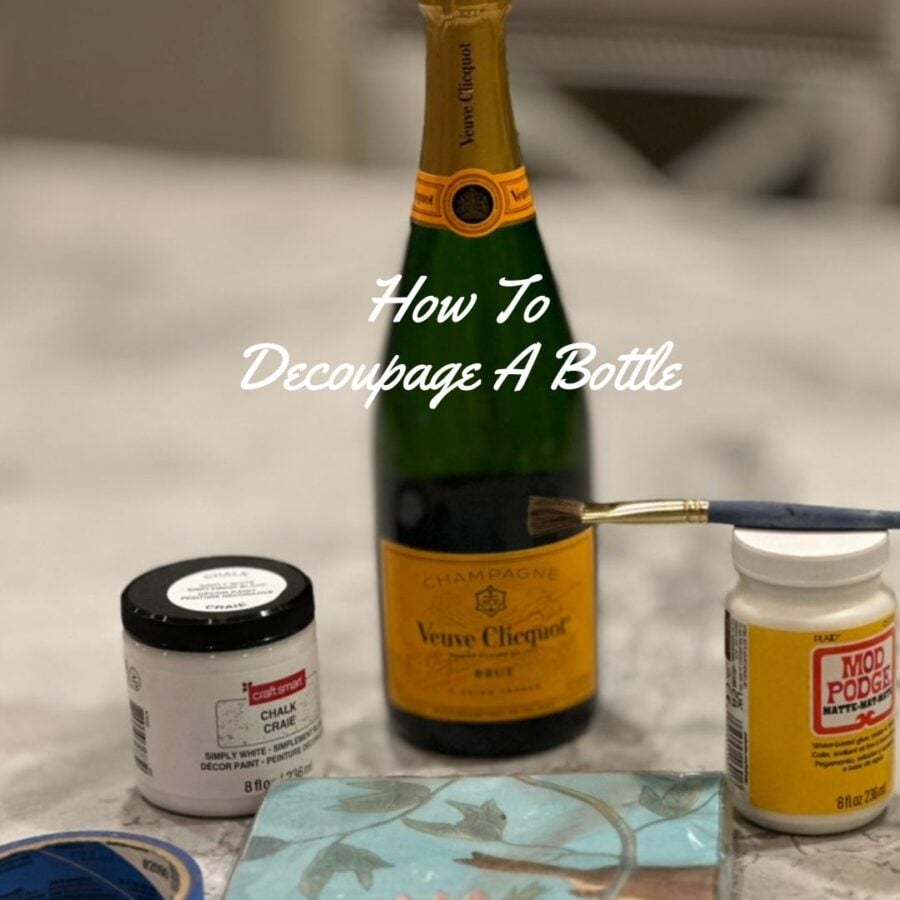
What You’ll Need: Your Decoupage Tutorial Supplies List
Here is the materials you need on Amazon to create the ultimate decoupage art project! I have included the materials listed below including napkins that would make ideal designs. Both napkins I have use above are also listed on this list.
- Empty or full bottles (like wine or champagne bottles)
- Paint tape
- Mod Podge (matte or gloss finish)
- Paper napkin, decoupage paper, or tissue paper with designs you love
- Paint brush or sponge brush
- Scissors or liner brush for water cutting
- Chalk paint (optional for a base coat)
- Embellishments like ribbon, charms, or metallic wax acrylics for finishing touches
- A clean workspace and plenty of creativity!

Step-by-Step Decoupage Tutorial
1. Prep the Bottle
Start by cleaning your old glass bottle. Clean the bottle to remove any oil. If you wish to remove labels, soak the bottle in warm water. For stubborn adhesive, eco-friendly cleaning products or a quick scrub will do the trick. Dry it thoroughly before moving on.
2. Tape The Bottle
Taping a bottle with painters tape for decoupage and painting is an excellent way to create clean, professional-looking sections or preserve areas you don’t want covered. Here’s how to do it step by step:
Plan Your Design:
- Decide where you want the decoupage, paint, or bare glass to be.
- Popular options include taping off the neck of the bottle, creating horizontal stripes, or leaving a clear window for visibility.
Apply the Tape:
- Cut strips of painter’s tape to the desired lengths.
- Place the tape firmly onto the bottle, smoothing it down to avoid air bubbles or gaps.
- For straight edges (e.g., to divide the bottle into sections), use a ruler or guide as you apply the tape.
- If creating shapes or patterns, cut the tape into the desired forms and apply.
Ensure a Tight Seal:
- Press the edges of the tape firmly with your fingers to ensure no paint or glue seeps underneath.

2. Paint the Bottle
If you want a solid background for your design, apply a several coats of chalk paint to the bottle. A white or neutral base helps vibrant designs pop, especially with delicate paper napkins. Let the paint dry completely.

3. Choose Your Design
Decide whether you’ll use decoupage paper, paper napkin, or tissue paper. Each material offers a unique look:
- Napkins: Perfect for soft, seamless designs.
- Decoupage paper: Ideal for bold, colorful patterns.
- Tissue paper: Great for layering or subtle textures.

Choosing a design for a decoupage bottle is one of the most exciting steps in the creative process! Here’s how to select the perfect look for your project:
Think about who the bottle is for and its intended use. If it’s a gift, match the design to the recipient’s style or interests. For a decorative piece, choose colors and themes that fit the space it will be displayed in. If it’s for a special event, like a wedding or holiday, let the occasion inspire your theme—gold and white for a wedding or festive patterns for the holidays.
Let the shape of the bottle guide your design. Tall, slim bottles look stunning with vertical patterns or repeating motifs like stripes or vines, while round bottles are perfect for larger designs or collages. For uniquely shaped bottles, you can emphasize their contours with strategically placed designs or choose a theme that highlights their distinct style.
The following napkins below are ideal for a decoupage bottle design. Click on each image for the link to amazon.
Your theme sets the tone for the project. Consider what kind of home decor style you want. Rustic or farmhouse designs pair beautifully with neutral tones, florals, or distressed textures. For a vintage vibe, opt for antique maps, retro illustrations, or old letters. Modern and minimalist styles shine with bold, clean shapes and patterns, while whimsical designs can feature bright colors, quirky prints, or playful imagery. Nature lovers might enjoy flowers, leaves, birds, or ocean-inspired themes.
Different materials can create distinct effects. Paper napkins are great for delicate, semi-transparent designs, while decoupage paper offers intricate, highly detailed options. Tissue paper is perfect for layering or achieving soft textures, and custom-printed images let you personalize the design with photos, quotes, or unique patterns.
4. Prepare Your Material
- For Napkins:
- Separate the printed layer from the plain backing layers. Most napkins have two or three layers; we only need the top printed layer.
- To remove excess napkin layers, try licking your fingers or using painter’s tape for an easy grip.
- Use a liner brush and water to trace around your design and gently tear it out. The feathered edge blends beautifully onto the glass.
- For Paper or Tissue Paper:
- Cut out your desired design using sharp scissors.
- If you prefer a more organic look, tear the edges by hand.
5. Apply Mod Podge
Brush a thin layer of glue (Mod Podge) onto the area where your design will go. Carefully position the napkin, paper, or tissue onto the glued surface.
- Avoid Air Bubbles: Smooth the material gently from the center outward to eliminate air bubbles and wrinkles. For napkins, work carefully to avoid tearing.
- Repeat this process until your bottle is fully decorated or your desired design is complete.
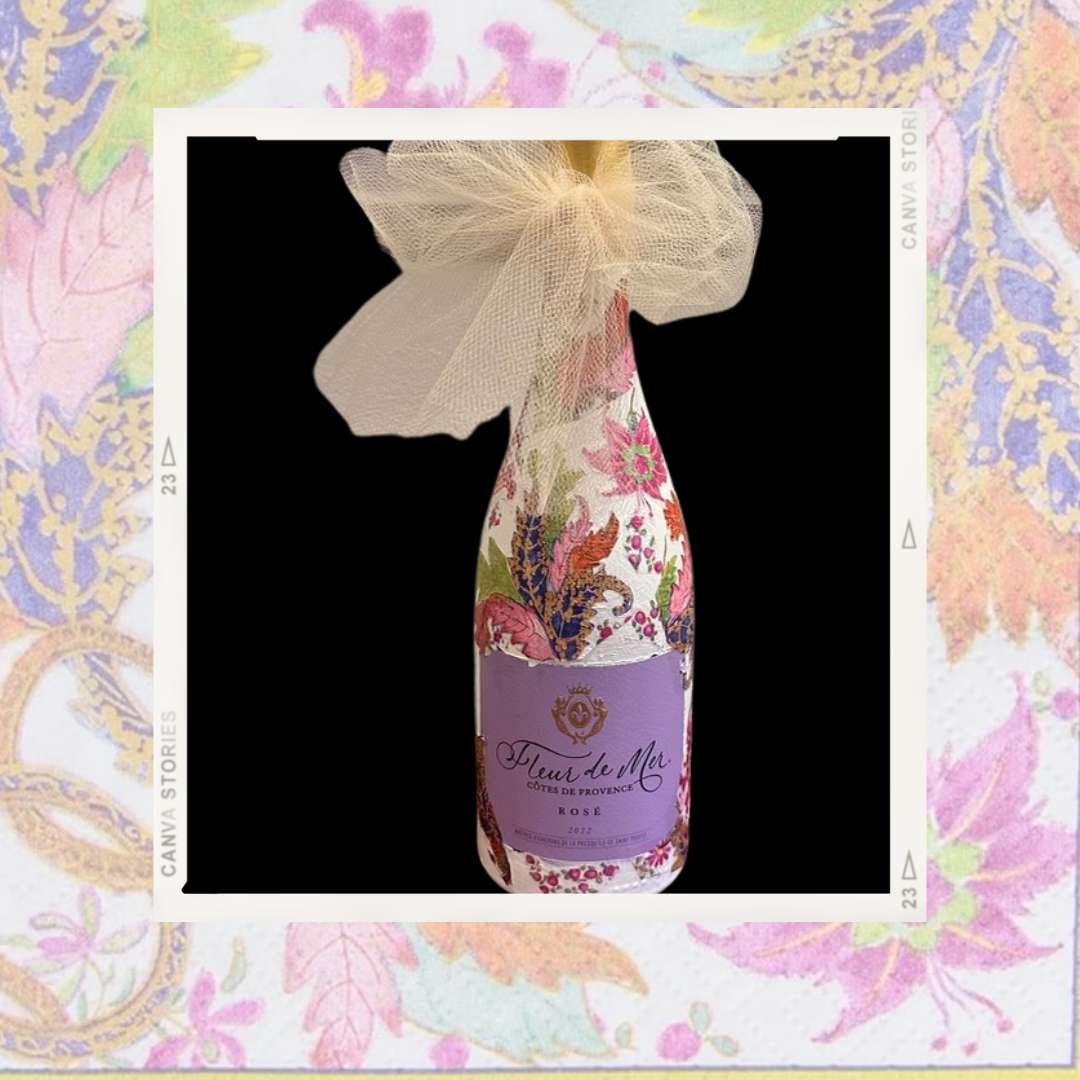
6. Add Final Touches
Apply a thin top coat of Mod Podge over the entire design to seal it. For added elegance, finish with metallic wax acrylics on the bottom of the bottle or around the edges. Tie a ribbon or attach a charm for extra flair.
7. Let It Dry
Let your bottle dry completely—overnight is best. This ensures the glue is fully set, leaving you with a polished and durable keepsake.
Why Decoupage is a Great Way to Upcycle
Creating a diy decoupage bottle is more than a fun craft; it’s an opportunity to reuse and recycle empty bottles while making something truly special. Whether you’re crafting for a celebration, a thoughtful gift, or simply for home décor, decoupage lets you personalize every detail.
Want to try this project? Shop for your decoupage tutorial supplies through our recommended affiliate links—we earn a small commission at no extra cost to you!
Next time, experiment with layering different materials, such as tissue paper over bold decoupage paper, or add subtle shimmer with metallic wax acrylics. Don’t forget to share your creations and tips with your Gal Pals—we’d love to see your one-of-a-kind masterpieces!
FAQ’s About Decoupaging a Bottle, Along With Helpful Answers:
1. What materials do I need to decoupage a bottle?
You’ll need a clean glass bottle, decoupage glue like Mod Podge, decorative paper (such as napkins, tissue paper, or decoupage paper), a brush or sponge applicator, and a sealer for a glossy or matte finish. Optional supplies include acrylic paint for priming the bottle and painter’s tape for masking areas.
2. Do I need to paint the bottle before decoupaging?
Painting the bottle is optional, but it can enhance the design. A white or light-colored acrylic base coat helps patterns and colors stand out, especially if you’re using thin napkins or tissue paper. If you prefer a more transparent look, you can skip the paint.
3. How do I prepare the bottle for decoupage?
Start by removing labels and adhesive residue. Soak the bottle in warm, soapy water and scrub off any remnants. Dry it thoroughly. If the surface is smooth, consider lightly sanding it to help the glue adhere better.
4. What type of paper works best for decoupage?
Thin, flexible paper works best. Popular choices include paper napkins (separate the layers and use the printed one), decoupage paper, or tissue paper. Avoid thick paper or cardstock, as it may not conform well to the bottle’s curves.
5. How do I prevent wrinkles and bubbles?
Apply a thin, even layer of glue to the bottle before placing your paper. Work slowly, smoothing the paper with your fingers or a soft brush as you go. For stubborn wrinkles, lightly dampen the paper or use a plastic wrap sheet to press it down without tearing.
6. Can I use regular glue instead of Mod Podge?
Yes, but it’s not ideal. While you can dilute white glue with water, Mod Podge or other decoupage mediums are designed to be both adhesive and sealant, providing a smoother, more durable finish.
7. How many layers of glue or sealer should I apply?
For durability and a polished look, apply 2–3 thin layers of glue or sealer. Allow each layer to dry completely before adding the next.
8. Can I use decoupage on colored or dark glass bottles?
Yes, but your design might not stand out as much. To enhance the visibility of your patterns, consider painting the bottle with a light-colored primer before decoupaging.
9. How do I clean decoupaged bottles?
Decoupaged bottles are not waterproof unless sealed with a special waterproof sealer. Clean them gently with a damp cloth and avoid submerging them in water.
10. Can I use a decoupaged bottle as a vase or container?
Absolutely! However, ensure the inside of the bottle is clean and that the outside is sealed to protect the design. For fresh flowers, avoid water contact with the exterior unless you’ve used a waterproof sealer.
11. How long does it take for a decoupaged bottle to dry?
Drying times vary depending on the glue or sealer you use. Typically, each layer takes 20–60 minutes to dry to the touch. For a fully cured finish, allow 24–48 hours.
12. Can I add embellishments to my decoupaged bottle?
Yes! Once your decoupage is dry, you can add ribbons, beads, glitter, or other decorative accents to make your bottle unique.
13. What’s the best way to seal a decoupage project?
Use a decoupage sealer, Mod Podge, or clear acrylic spray. Choose a matte or glossy finish based on your desired look. For items that may come into contact with water, use a waterproof sealer.
14. What if I make a mistake during the process?
Don’t worry! If the paper isn’t glued down yet, carefully lift it and reposition it. If the glue has dried, you can gently sand off the mistake or layer a new piece of paper over it.